Here is the Final PDF Document for the BioGlow Plant Rotator:
CPNH Final Documentation
A short video is on its way, just a few edits to do before embedding video.
Saturday, May 10, 2014
Final: LAB Time Machine Communicator v2.0
Hey there!
I had a great time taking this class. I've documented my process and have a video of the LAB Time Machine here:
You can find the process documentation PDF here:
https://dl.dropboxusercontent.com/u/5434977/CMU/HAPTICS/LAB/LAB%20Time%20Machine.pdf
I had a great time taking this class. I've documented my process and have a video of the LAB Time Machine here:
You can find the process documentation PDF here:
https://dl.dropboxusercontent.com/u/5434977/CMU/HAPTICS/LAB/LAB%20Time%20Machine.pdf
Thursday, April 17, 2014
Etching PCBs and folding plastic
Hey guys,
I came across some interesting rapid prototyping techniques that might be useful.
The first is a technique to etch PCBs with a laser cutter. The process basically involves spray painting the surface of a copper board with black paint, and then burning away the copper with a laser cutter. The first tutorial talks about creating a jig for alignment so you can etch double-sided boards!


More info at these links:
http://hackedgadgets.com/2014/04/05/pcbs-made-using-a-laser-cutter-2/#section5
http://www.instructables.com/id/Custom-PCB-Prototyping-using-a-Laser-Cutter/
This technique involves defocusing the laser cutter to distribute the heat and get the acrylic to fold. This allows for fully finished prototypes without assembly. This is going to be a commercial product, but they explain the details on how it's accomplished. Their software does all the hard work, but this should be able to be done manually with some experimentation.
I came across some interesting rapid prototyping techniques that might be useful.
Laser Cut PCBs
The first is a technique to etch PCBs with a laser cutter. The process basically involves spray painting the surface of a copper board with black paint, and then burning away the copper with a laser cutter. The first tutorial talks about creating a jig for alignment so you can etch double-sided boards!
More info at these links:
http://hackedgadgets.com/2014/04/05/pcbs-made-using-a-laser-cutter-2/#section5
http://www.instructables.com/id/Custom-PCB-Prototyping-using-a-Laser-Cutter/
Folding Acrylic with a Laser Cutter
This technique involves defocusing the laser cutter to distribute the heat and get the acrylic to fold. This allows for fully finished prototypes without assembly. This is going to be a commercial product, but they explain the details on how it's accomplished. Their software does all the hard work, but this should be able to be done manually with some experimentation.
Thursday, April 10, 2014


Tuesday, April 8, 2014
Wireless ? Power ?
Without taking the time to verify this, I think this system uses radio to recharge the LED banks. There is more on the technology HERE.
Wireless power!
I came across this while looking into wireless charging and communication. Apparently wireless charging has been standardized into something called Qi. Here's a video of it in action inside of a Samsung Galaxy S3:
Apparently the base station is compatible with any Qi-compatible charging pads. These pads usually go into phones, but they just provide 5v 1000mah through two pins that can be used for anything from an Arduino to a Raspberry Pi.
Purchased here:
http://www.ebay.com/itm/171247671256?ssPageName=STRK:MEWNX:IT&_trksid=p3984.m1439.l2649
Tuesday, March 25, 2014
Andre Le: A8 Interactive Blocks (pt 2)
This post is a continuation of the Interactive Blocks projects posted here: http://hapticaction.blogspot.com/2014/03/andre-assignment-8-interactive-blocks.html
In my previous post, I expressed interest in using LEDs as sensors using a phenomenon called parasitic capacitance. Given that I did not have two sets of micro-controllers lying around to interact with each other, I explored other things that I had sitting around.
I've always been interested in working with camera flashes. The sound while charging that it makes is both terrifying and provides an anticipatory signal to people letting them know that its getting ready for a bang.
Typically, these flashes are trigged manually with physical switches, but I wanted to see if I could get an Arduino to trigger it using other sensors.
The Hack:


The first step was to extract the flash unit from the disposable camera. Looking around the edges, I was able to find a few clips that allowed me to detach the front and back housings. Visually, you can see where the contacts are to charge the capacitor and where it's triggered.

Next, I had to test my assumptions of how it worked with a piece of metal. I charged and discharged the flash in the video above. After I confirmed that it worked, I went to prototype a circuit that contained a relay, transistor to trigger the relay, and a photoresistor as the sensor.


I had to keep in mind that I needed to provide a minimal amount of connections across the two blocks. I managed to share a lot of connections on the circuit board and only expose pins for power, ground, relay signal, and sensor signal.


This allowed me to use screws to double up as both standoffs and connections to the Arduino in the wooden box.


To make connections on the wooden side of the box, I needed a way to insert the screws into the box and make a solid connection. The conductive material would need to be fluffy enough to fill the holes, but give way to the screws as they were seated together. I tested some steel wool used for dishwashing with my multimeter and realized that the resistance was very low. I took several bundles of steel wool and soldered jumper wires to them to make the final connections to the Arduino. This solution worked well for my tests and is a novel way to connect two objects, but I would definitely need some safeguards to prevent shorting in a production environment.
The screws were also keyed, arranged in a pattern that would not allow you to put them in the wrong way.


Independently, the cubes do not do anything. But once you mate the two cubes together, the unit acts as a display case for the circuit board. The wooden box hides an Arduino and battery, which provides the clear box with the computational power to determine when and how the flash is activated. The Arduino initializes by taking a light reading of the environment. If the light changes drastically, the Arduino is "spooked" and discharges the flash.
Friday, March 7, 2014
Aderinsola Akintilo: A8 [ in progress ]
Interactive Cubes
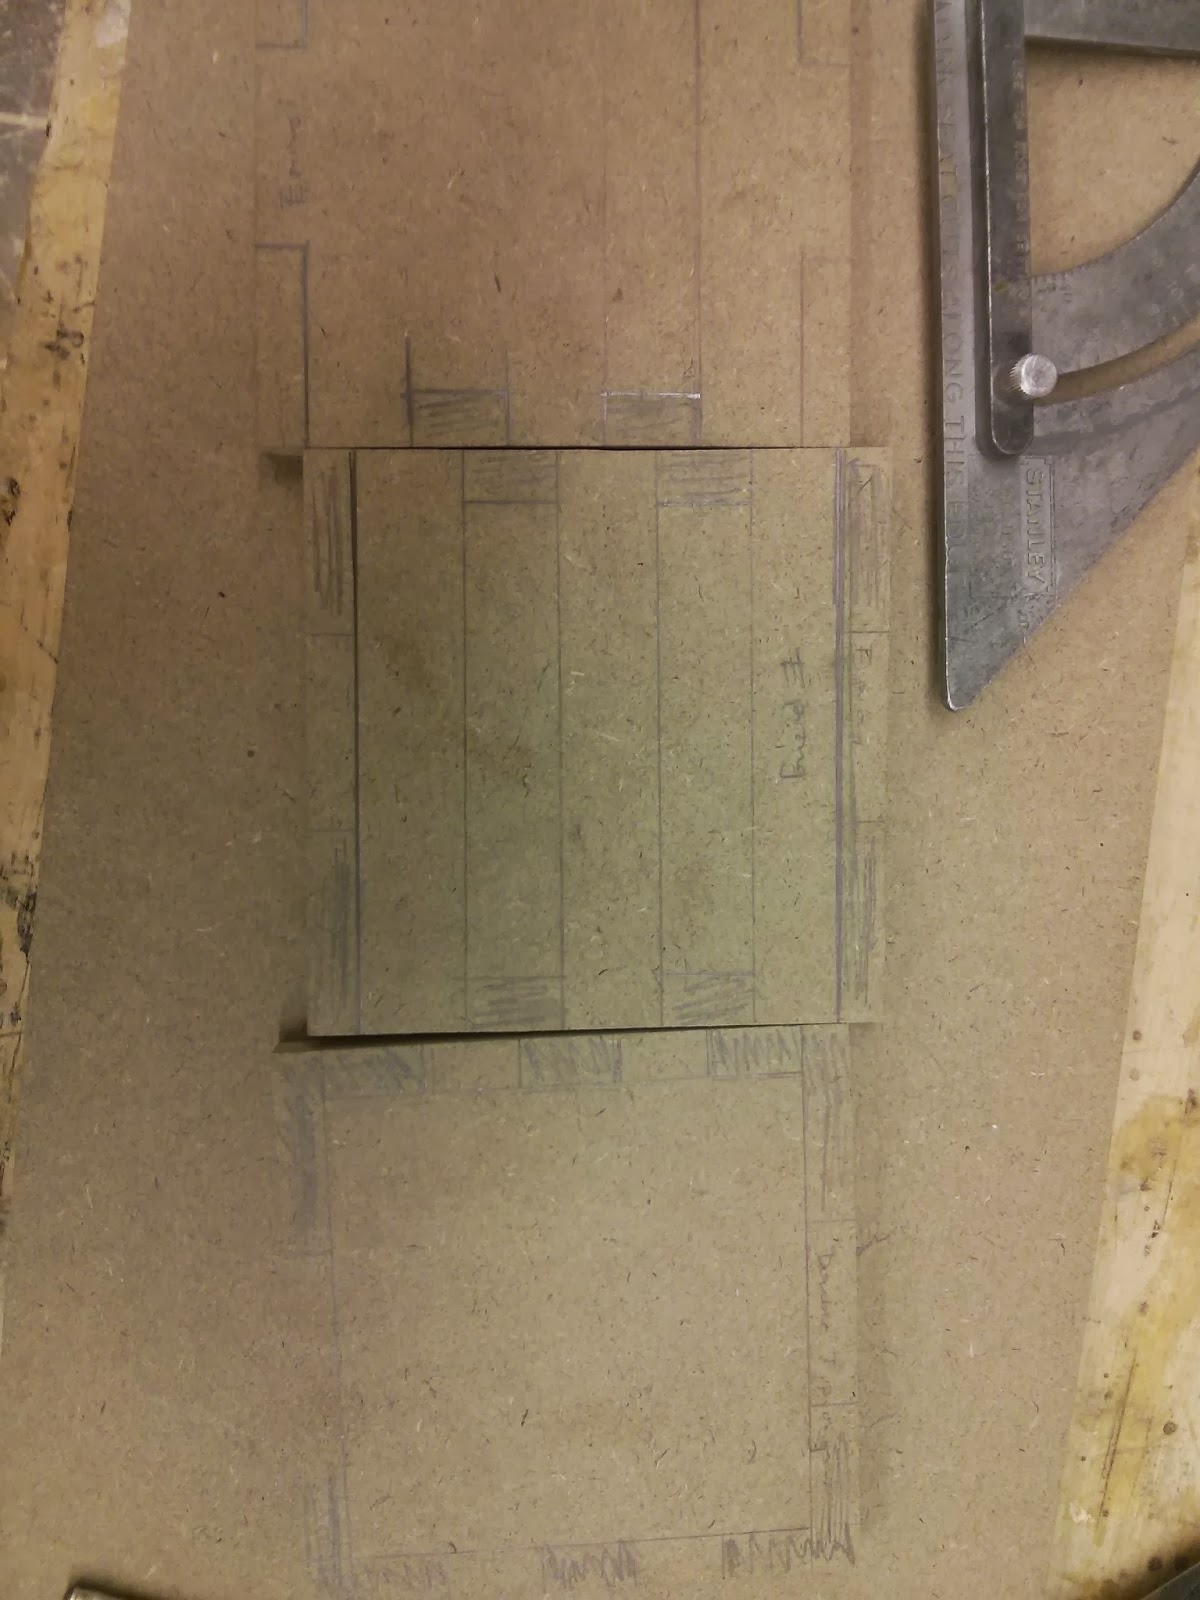
This was a rather difficult assignment. One of the first times I was unable to actually finish. Let's start with the puzzle piece first. I really REALLY wanted interactive connecting cubes: like legos. My first iteration of a jigsaw piece box came out relatively ok. The only issue I had was that I didn't account for wiggle room between the pieces, so almost every piece was either too big or too small. In addition to that, the cube was...unnecessarily large. So I went back to the drawing board and decided to not waste time and just mill a block of wood. My only problem with this approach is that I did not plan the form of interaction that i wanted this block to have...before I milled and cut holes in it. The next step was much worse. Again without thinking about the interaction, I decided to take the easy route and vacuum form a plastic block. Sadly, the issue this time was that i was not patient and ended up breaking / cracking half of the brittle plastic. I plan on continuing this project during / after spring break and having some (even if it's simple) interaction between a plastic and wooden block.


This was a rather difficult assignment. One of the first times I was unable to actually finish. Let's start with the puzzle piece first. I really REALLY wanted interactive connecting cubes: like legos. My first iteration of a jigsaw piece box came out relatively ok. The only issue I had was that I didn't account for wiggle room between the pieces, so almost every piece was either too big or too small. In addition to that, the cube was...unnecessarily large. So I went back to the drawing board and decided to not waste time and just mill a block of wood. My only problem with this approach is that I did not plan the form of interaction that i wanted this block to have...before I milled and cut holes in it. The next step was much worse. Again without thinking about the interaction, I decided to take the easy route and vacuum form a plastic block. Sadly, the issue this time was that i was not patient and ended up breaking / cracking half of the brittle plastic. I plan on continuing this project during / after spring break and having some (even if it's simple) interaction between a plastic and wooden block.
Subscribe to:
Posts (Atom)