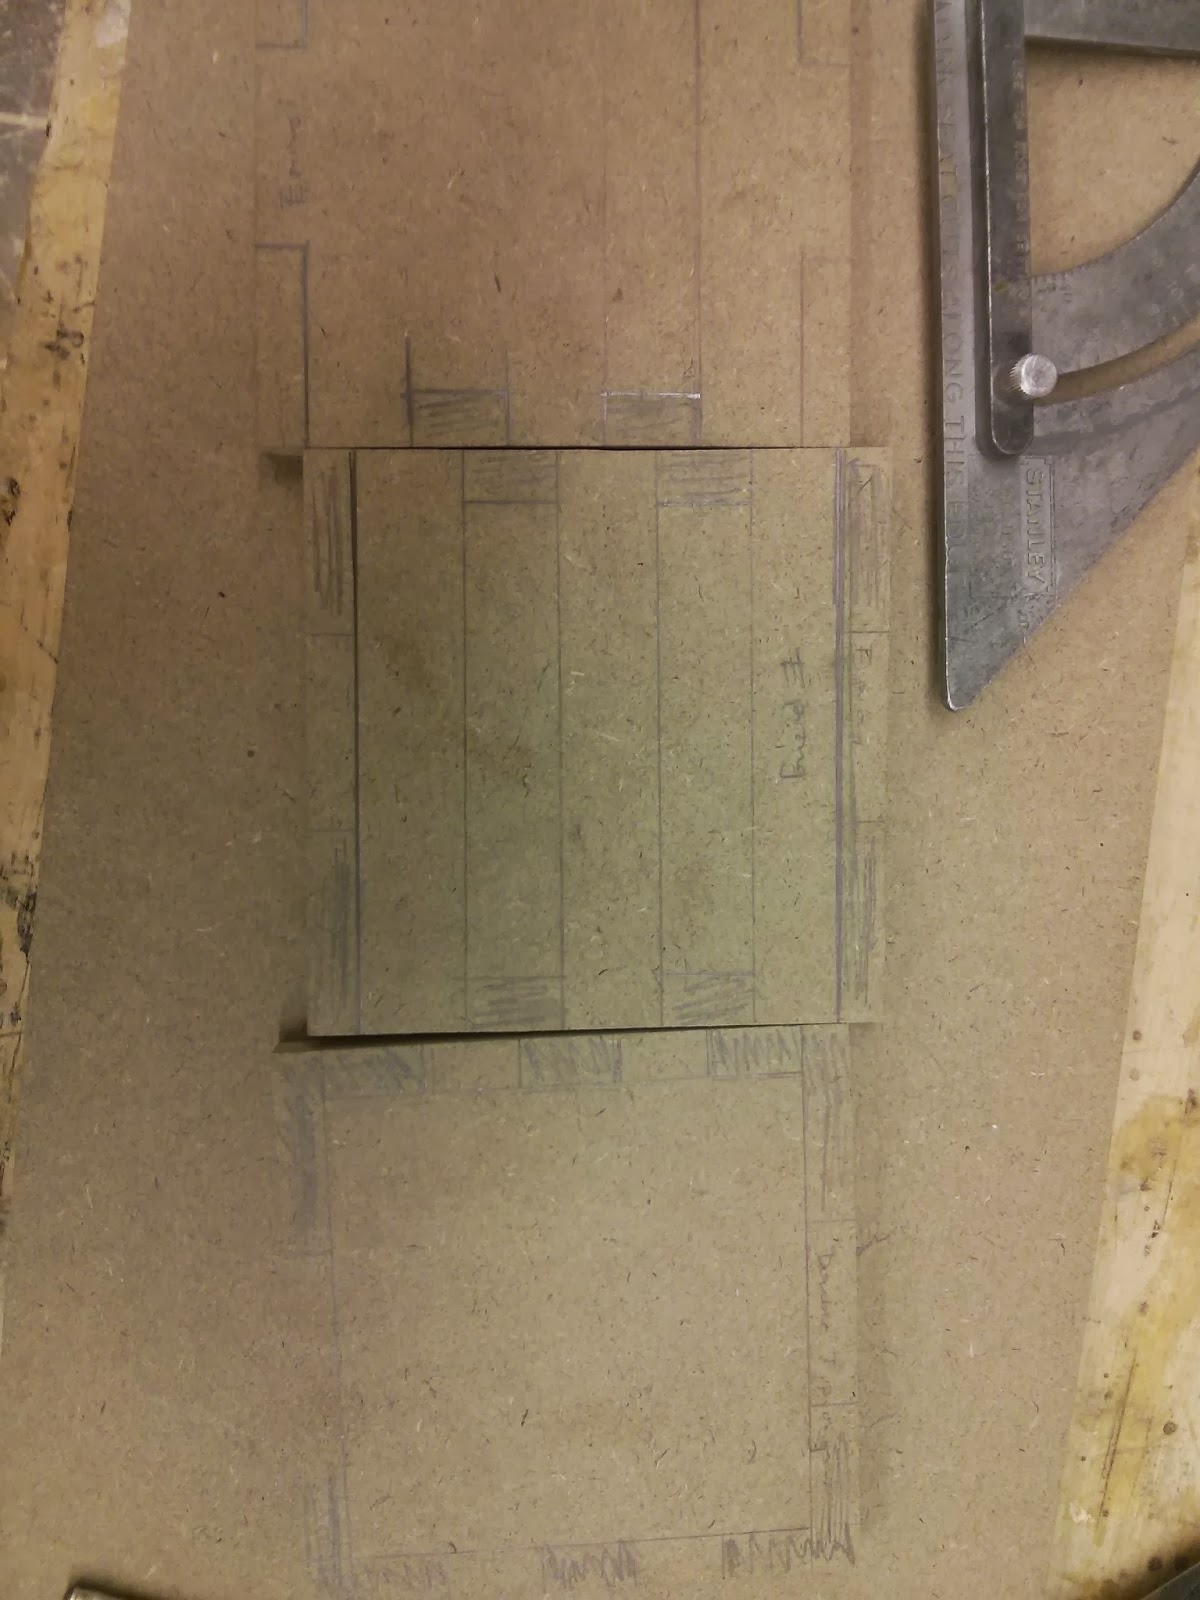
This was a rather difficult assignment. One of the first times I was unable to actually finish. Let's start with the puzzle piece first. I really REALLY wanted interactive connecting cubes: like legos. My first iteration of a jigsaw piece box came out relatively ok. The only issue I had was that I didn't account for wiggle room between the pieces, so almost every piece was either too big or too small. In addition to that, the cube was...unnecessarily large. So I went back to the drawing board and decided to not waste time and just mill a block of wood. My only problem with this approach is that I did not plan the form of interaction that i wanted this block to have...before I milled and cut holes in it. The next step was much worse. Again without thinking about the interaction, I decided to take the easy route and vacuum form a plastic block. Sadly, the issue this time was that i was not patient and ended up breaking / cracking half of the brittle plastic. I plan on continuing this project during / after spring break and having some (even if it's simple) interaction between a plastic and wooden block.
Friday, March 7, 2014
Aderinsola Akintilo: A8 [ in progress ]
Interactive Cubes
This was a rather difficult assignment. One of the first times I was unable to actually finish. Let's start with the puzzle piece first. I really REALLY wanted interactive connecting cubes: like legos. My first iteration of a jigsaw piece box came out relatively ok. The only issue I had was that I didn't account for wiggle room between the pieces, so almost every piece was either too big or too small. In addition to that, the cube was...unnecessarily large. So I went back to the drawing board and decided to not waste time and just mill a block of wood. My only problem with this approach is that I did not plan the form of interaction that i wanted this block to have...before I milled and cut holes in it. The next step was much worse. Again without thinking about the interaction, I decided to take the easy route and vacuum form a plastic block. Sadly, the issue this time was that i was not patient and ended up breaking / cracking half of the brittle plastic. I plan on continuing this project during / after spring break and having some (even if it's simple) interaction between a plastic and wooden block.
Thursday, March 6, 2014
Ramya - I'm Falling For you!
I experimented with different materials and forms before deciding to build a container that resembled a Hershey's Kisses Candy.
I carved and stuck 4 foam cubes to make a container for my circuit.
I then cut out wooden circles to make the base, but ended up not using them to reduce the weight of the container.
I then cut out two pieces of sheet metal, and glued and riveted them together.
I drilled holes and wove two ribbons through them to pull the four sides of the container together.
I then used 4 more foam cubes to make a cover for the container. I colored them brown to look like chocolate. The pressure applied by the ribbons keeping the sides together kept the lid of the container in place.
I wrapped the entire container in paper to resemble candy wrapping.
It survived the fall, and bounced on landing!
Ramya - Interactive Cubes
The idea was to give one cube control of the light that glows in the other one.
The circuit was split between the two cubes. One would contain the microcontroller and the leds, while the other would contain the battery to power the circuit.
I used the glass I found in the projector last week to disperse the light.
Current Status: I got the circuit working and went about sticking the sides together, but then ran into some issues with loose connections or grounding. Unfortunately, I tried for a long time, but wasn't able to debug it.
I made the plastic box to complete the circuit, but didn't have the time to mount it.
Looking forward to finishing it up.
Andre - Assignment 8 Interactive Blocks [WORK IN PROGRESS]
This assignment requires us to create two blocks of differing materials and make it interact with each other.
I remembered seeing a blog post from hackaday.com in 2006 that discussed using LEDs as sensors. In addition, when quickly switching back and forth between being an input and output, LEDs could be used as an interactive display. [MIND BLOWN]
Laser Command from Eiji Hayashi on Vimeo.
As with just about everything in this field, all things lead to CMU. After digging a little deeper, I found a project called Laser Command done by a former student at CMU named Eiji Hayashi. He lists some really great documentation on how he achieved a laser to LED Matrix interface.
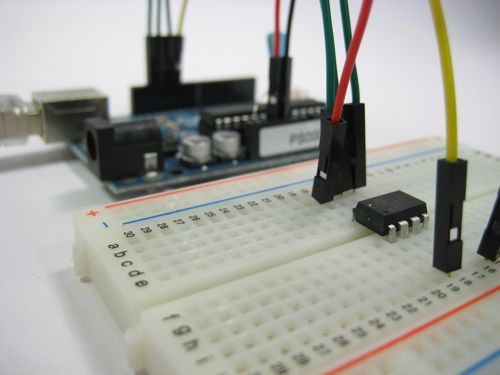
Finally, to further reduce my footprint within the box, I wanted to things further and create my own board using the Atmel ATTiny85 microprocessor. I found great documentation from our friends at the MIT Media Lab's research group called High Low Tech.
At this point, I've successfully wired up an ATTiny programmer, upload sketches, and run the chip at 8mHz standalone on 3.7V lithium batteries. The footprint is tiny. (Picture coming soon!)
Circuit design research:
In the research phase of this project, I found myself particularly fascinated with inputs/sensors that also can double up as outputs/emitters. In the previous project I was able to use a piezoelectric sensor as a speaker. For this project, I wanted to follow the same minimalist design process and find other ways to do this.I remembered seeing a blog post from hackaday.com in 2006 that discussed using LEDs as sensors. In addition, when quickly switching back and forth between being an input and output, LEDs could be used as an interactive display. [MIND BLOWN]
Laser Command from Eiji Hayashi on Vimeo.
As with just about everything in this field, all things lead to CMU. After digging a little deeper, I found a project called Laser Command done by a former student at CMU named Eiji Hayashi. He lists some really great documentation on how he achieved a laser to LED Matrix interface.
Finally, to further reduce my footprint within the box, I wanted to things further and create my own board using the Atmel ATTiny85 microprocessor. I found great documentation from our friends at the MIT Media Lab's research group called High Low Tech.
At this point, I've successfully wired up an ATTiny programmer, upload sketches, and run the chip at 8mHz standalone on 3.7V lithium batteries. The footprint is tiny. (Picture coming soon!)
Building the boxes:
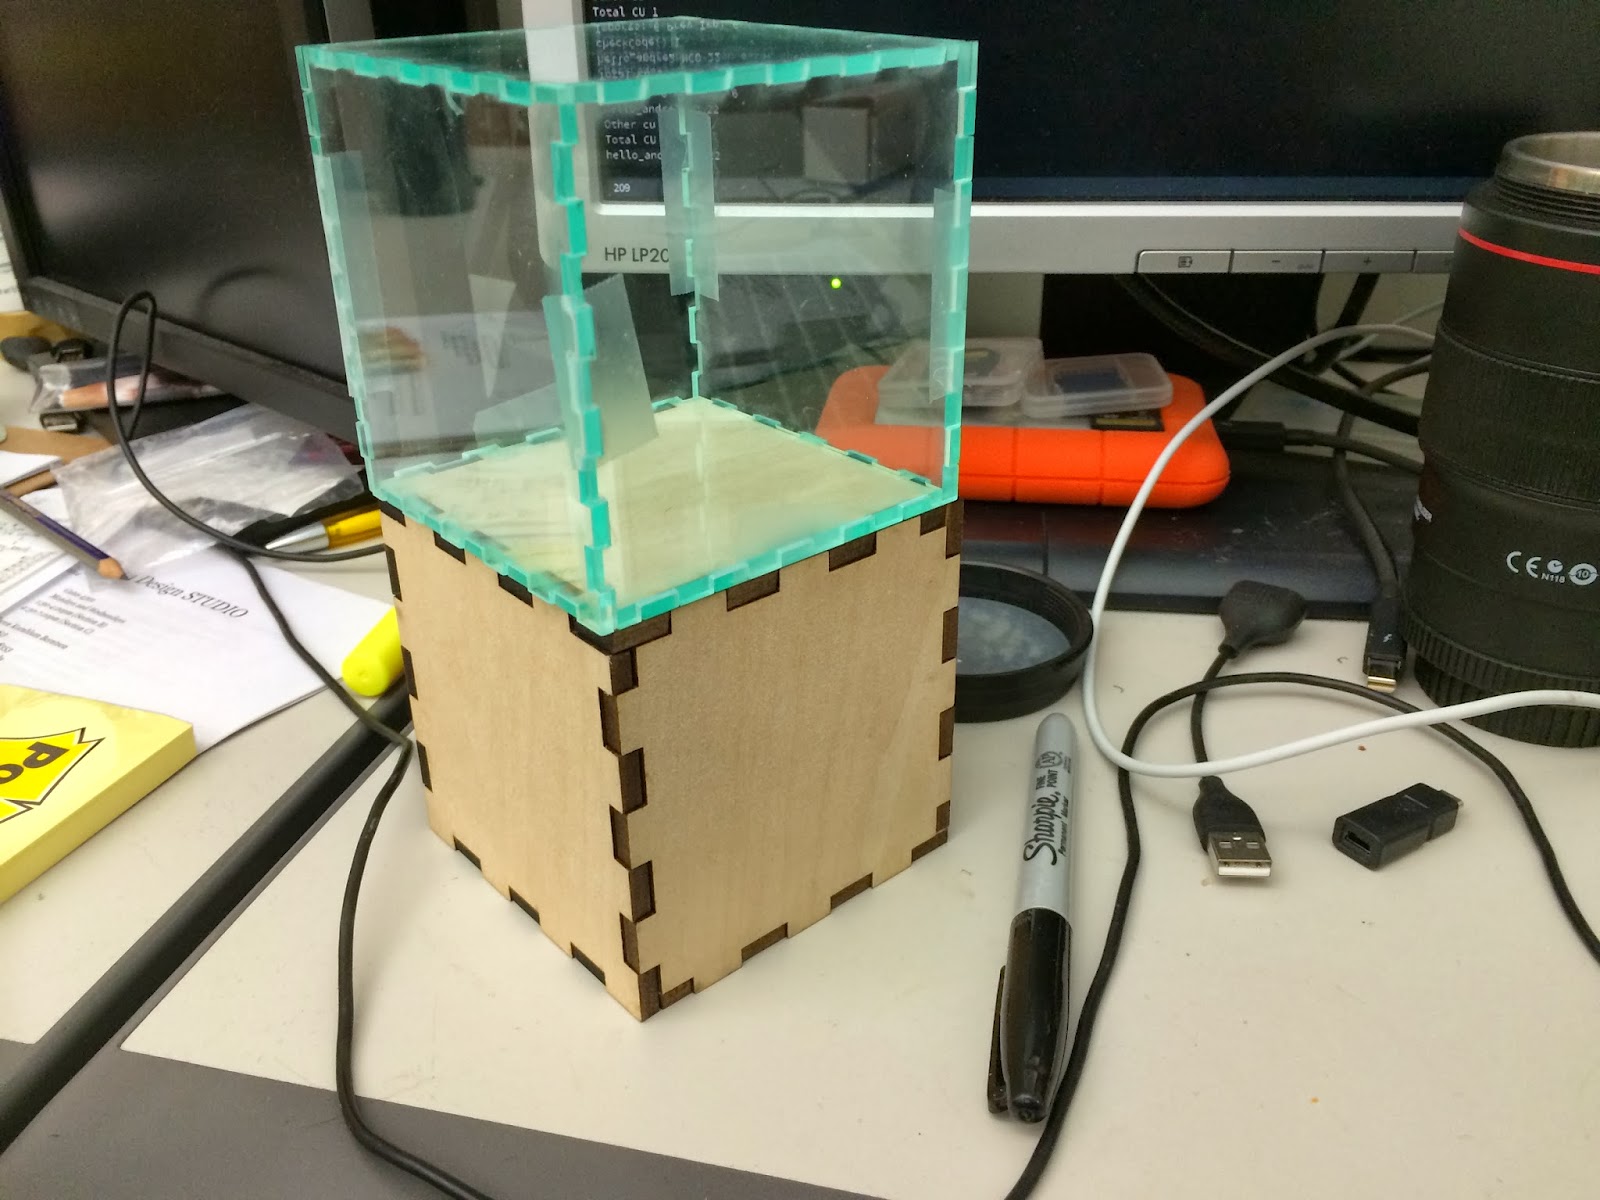
I sourced my materials from the local art store and DFab down in Margaret Morrison. I used 3/16" basswood for one box and 1/8" glass-tinted acrylic for the other. To build the template, I used a site called Box Maker. I also used a digital caliper to measure the material thickness. The laser cutters down in DFab were a little worn-in and required 3-4 passes to cut through the material. This caused the friction-fit finger joints to fail and require gluing. Here's an image of it in progress:Status update:
At this point, I've got all of the components together, research complete, but I have run out of time to fully finish this piece in time. I've put up all of my documentation and research in hopes that it will help others with their projects.
Tuesday, March 4, 2014
Looking Out: HUVr Boards
HUVrTech seems to have finally created a working prototype of a hover board. :)
Slow Motion Egg Drop Tests
This is slow motion video footage of an "Egg Drop" assignment for Haptic Action at Carnegie Mellon University. The goal was to create an object out of wood, metal, or plastic that would survive a 25ft free fall. In addition, the object must contain an Arduino circuit with at least 1 input and 1 output, and must have its own power supply. We were not allowed to append padding on the outside of our object. Both aesthetics as well as function were factors in the grading criteria.
About my box:
The box was created from basswood which was laser cut into slices of the box, then wood glued and clamped overnight. Pilot holes were drilled and countersunk for screws that went through 3/4 of the box. The top layer of the box was removable to access an inner compartment. The box contained an Arduino micro, a 9V battery, and a piezoelectric sensor that doubled as a speaker to play the beginning of Mario's theme song.
Subscribe to:
Posts (Atom)